
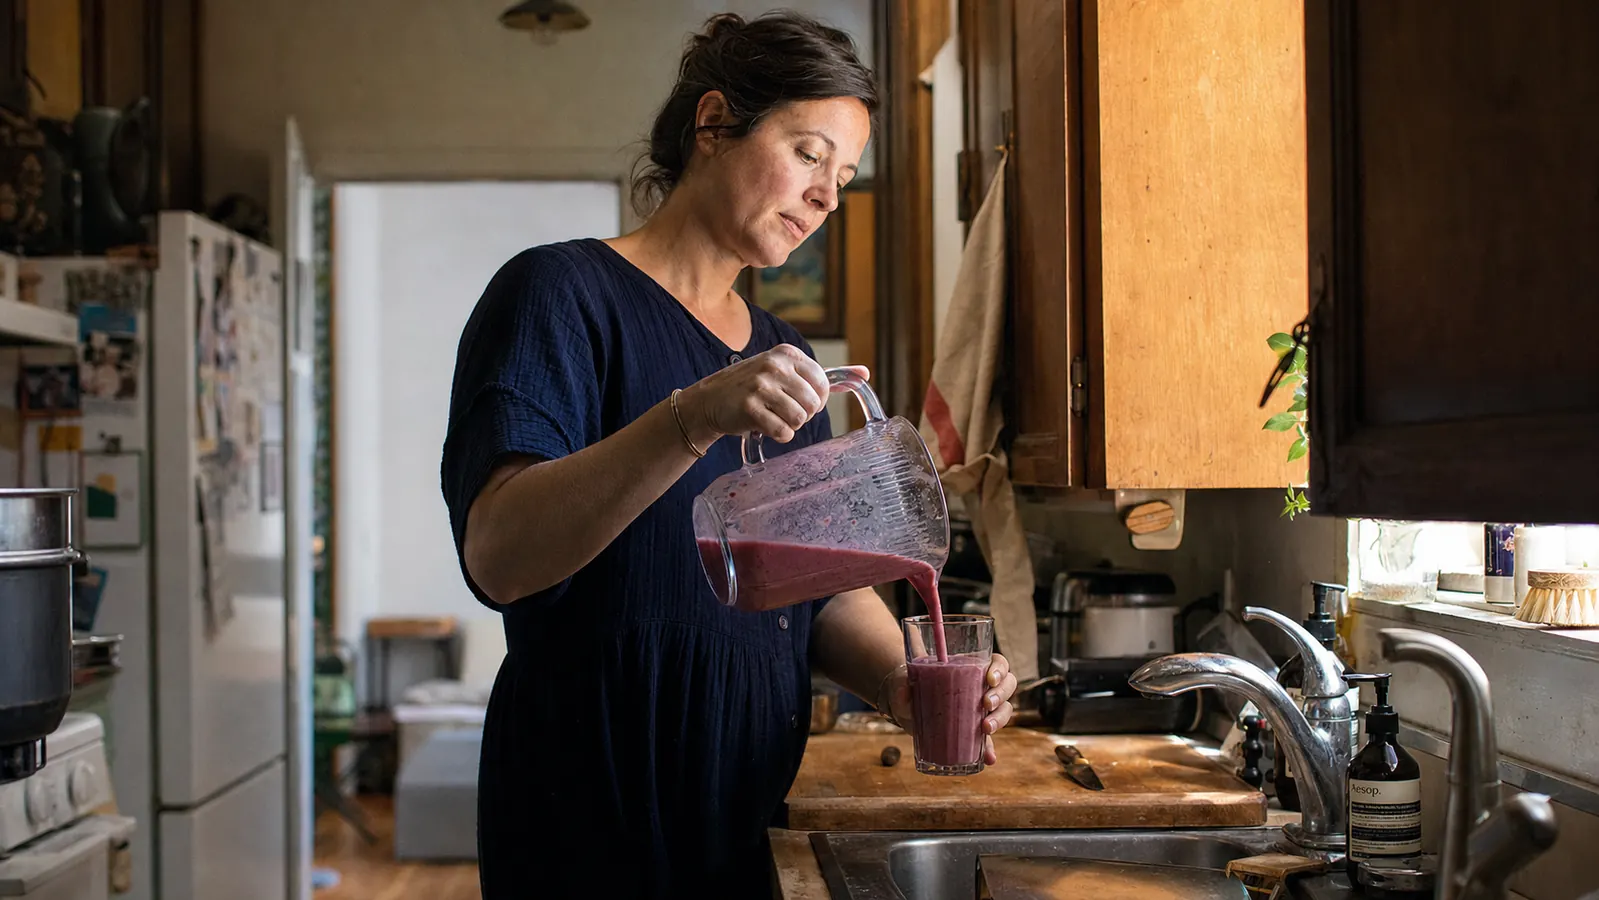
I did not land on an order of operations that stops a smoothie from separating into a sad frozen puck by accident. It took a couple dozen failed weekday mornings with the Ninja Mega Kitchen System sitting on my twenty-two inches of counter before I understood why some blends came out silky and others came out chunky with a stubborn ice core at the bottom. The difference almost never comes down to the machine, it comes down to the order you load it in, how much liquid you use, and which speed you actually run. This is the exact process I use most weekday mornings, oat milk, frozen strawberries, a banana, a scoop of peanut butter, plus what I've learned about the single-serve cups, freezer prep, and getting the whole thing cleaned up before my coffee's even done.
None of this is complicated once you've done it a dozen times, but nobody hands you the actual sequence when you unbox a Ninja blender. The instructions tell you what buttons do what. They don't tell you that loading powder first will clump it against the blades, or that running a full-power blend at 6:45am in a duplex will get you a note under your door. So here's the whole thing, start to finish, the way I actually do it on a narrow strip of counter beside my sink.
Tired of Smoothies With Ice Chunks at the Bottom?
The Ninja Mega Kitchen System has enough power to crush frozen fruit smooth in under a minute, if you load it right. Here's the exact loading order and settings I use every weekday morning.
Amazon Check Today's Price on Amazon →Step 1: Load the Pitcher Liquid First, Then Soft, Then Frozen, Then Powder
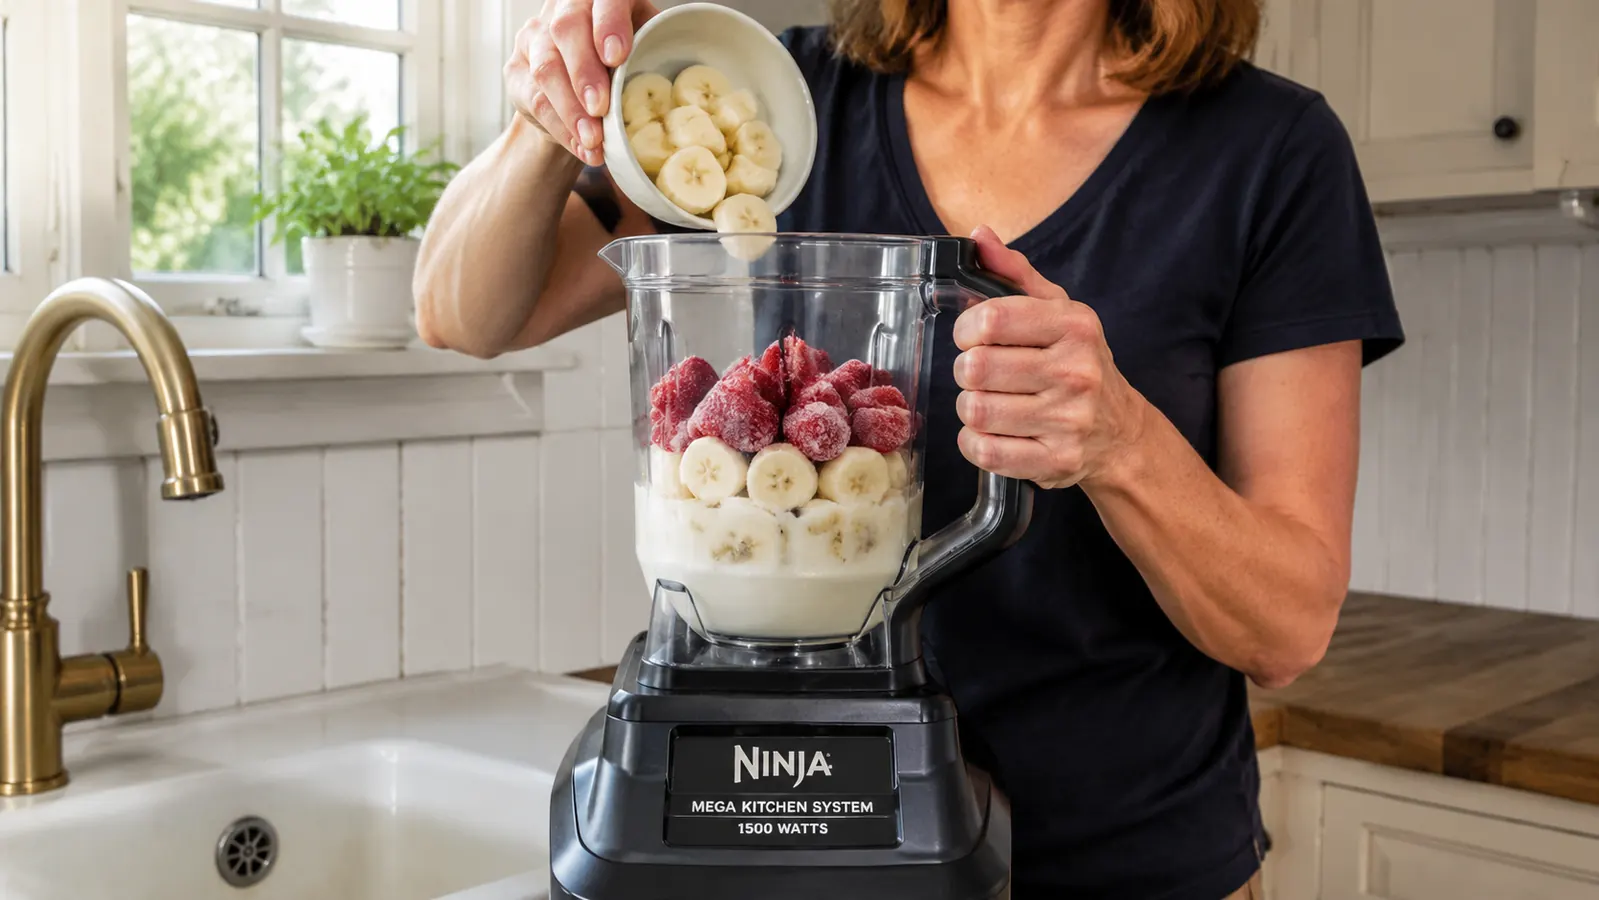
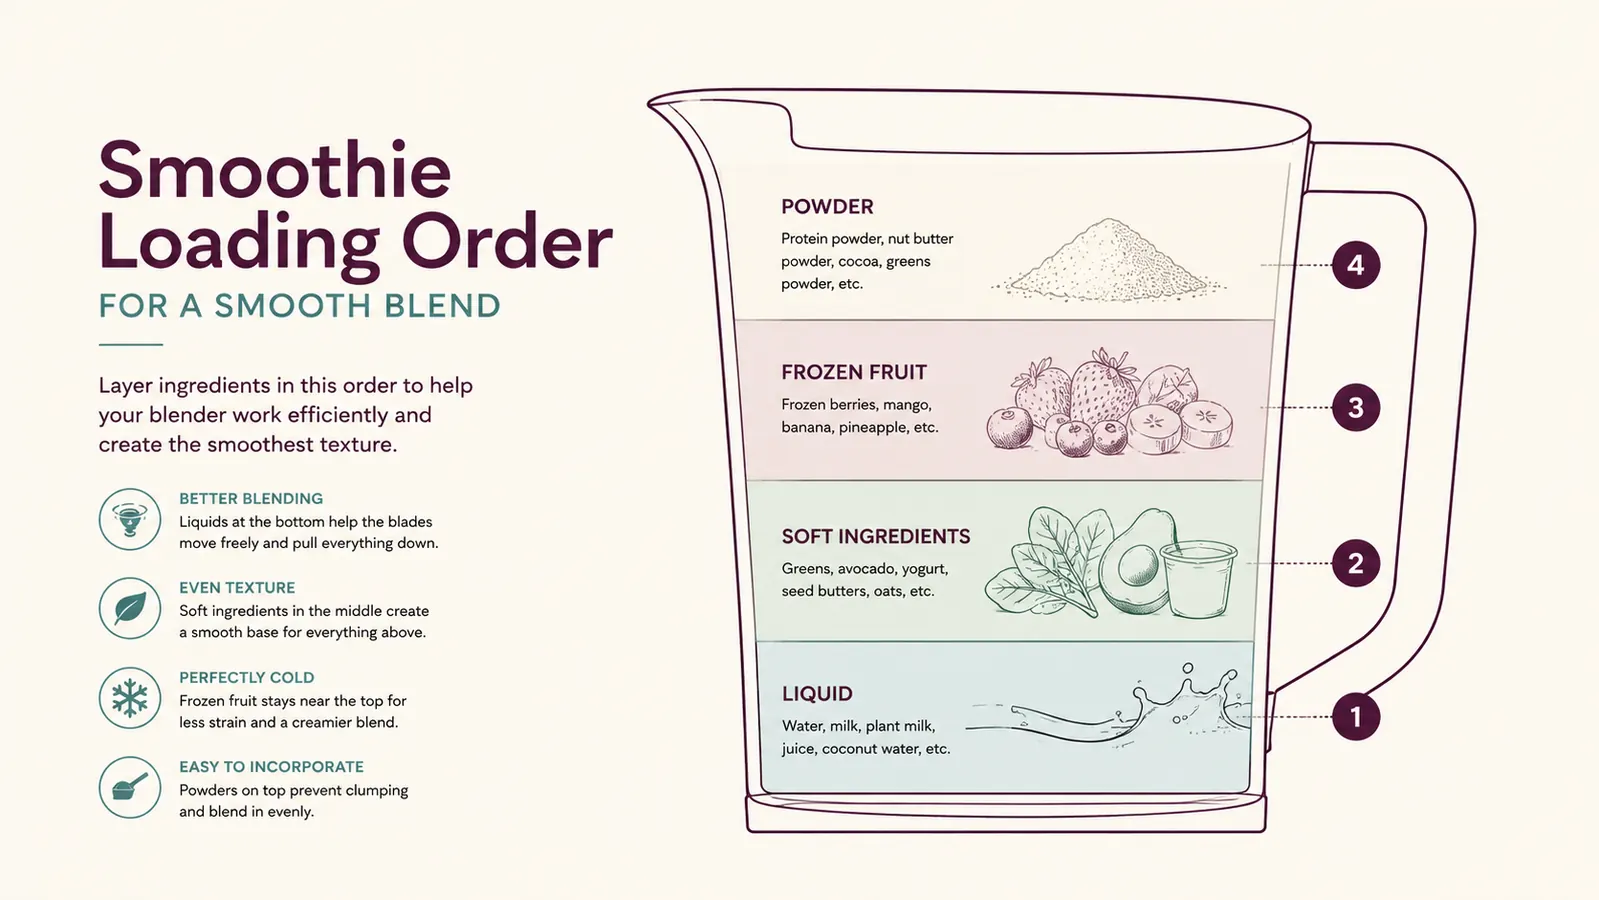
The single biggest fix for a chunky smoothie is loading order, not power. Pour your liquid into the Ninja pitcher first, always. Liquid at the bottom gives the blades something to grab and pull everything else down into, instead of chasing dry ingredients around an empty jar. That's what actually causes cavitation, an air pocket forms around the blades and they just spin uselessly in the middle of your frozen fruit instead of cutting through it.
After the liquid, add anything soft, banana, a spoonful of peanut butter, a handful of spinach if that's your thing. Soft ingredients settle into the liquid and start moving as soon as the blades turn. Frozen fruit goes in third, on top of the soft layer, never at the very bottom and never poured in before the liquid. Any powder, protein powder, cinnamon, a scoop of collagen, goes in dead last, on top of everything, so it doesn't clump against the blade assembly before the liquid ever reaches it.
I load mine in exactly that order every weekday: about a cup and a half of oat milk, half a banana, a spoonful of peanut butter, a cup of frozen strawberries on top, and if I'm using a protein powder that day, it goes in dead last. Skip a step in that order and you'll feel it in the first ten seconds, the motor working harder than it should and a stubborn pocket of ice that never quite breaks down.
Step 2: Get Your Ratios Right for the 72oz Pitcher
The 72oz pitcher on the Ninja Mega Kitchen System is a lot of vessel for one smoothie, and the ratio that works in a small blender doesn't scale down cleanly, there needs to be enough total volume for the blades to actually move through. My weekday ratio is one and a half cups of oat milk to one cup of frozen strawberries, half a banana, and a tablespoon of peanut butter. That's roughly a two to one ratio of liquid to frozen fruit, and it's the ratio I come back to no matter what fruit I'm using that week.
Too little liquid and the blades spin against a wall of frozen fruit without pulling it down, which is the same cavitation problem as bad loading order, just caused by volume instead of sequence. Too much liquid and you get a thin, sippable drink instead of something spoonable. If your smoothie comes out too thick to pour, add liquid a quarter cup at a time and pulse rather than dumping in more all at once, it's much easier to thin a smoothie than to thicken one that's already blended.
Step 3: Choose the Right Vessel, the 72oz Pitcher or a Single-Serve Cup
The BL770 kit comes with single-serve cups alongside the big pitcher, and I've learned when each one earns its spot on my twenty-two inches of counter. The 72oz pitcher is the right call when I'm making a double batch, one smoothie now and one refrigerated for the next morning, since I've stopped washing the whole pitcher twice in a week. A single-serve cup is the better call on a morning when it's just me, less to wash, less counter space taken up by a jar three times bigger than what I actually need.
The tradeoff is power distribution. The single-serve cups blend well for a basic fruit-and-liquid smoothie, but if I'm adding ice cubes on top of frozen fruit, or a thicker add-in like oats, I reach for the big pitcher on the Ninja Mega Kitchen System instead, since the extra volume gives the blades more room to actually circulate everything. For a quick one-person smoothie with soft frozen fruit and no ice, the cup is genuinely faster and there's a lot less to dry afterward.
Step 4: Use the Right Speed and Run Time, Not Just Max Power
I don't start on the highest setting. I pulse on low for the first five or six seconds to break the frozen fruit into smaller pieces before the blades have to fight a solid mass of it, then I move up to high for the rest of the run. Total blend time for my usual smoothie is somewhere between 45 seconds and a full minute, and I can hear when it's done, the pitch of the motor changes from a labored grind to a smoother, higher hum once everything's actually liquid.
If you're chasing a specific texture, more pulses on low gets you a thicker, spoonable result, and a longer stretch on high gets you something closer to a drink. Running it longer than necessary doesn't make it smoother past a certain point, it just warms up the smoothie from the friction and melts more ice than I want. A minute is genuinely enough for most frozen-fruit-and-liquid combinations in the Ninja Mega Kitchen System, and I've never needed to go past ninety seconds even with a full pitcher.
Step 5: Time the Loud Part Around the 7am Noise Curfew
I don't run the Ninja Mega Kitchen System on full power crushing ice before 7am, out of respect for the downstairs neighbor in my duplex, which means the actual blending has to wait until after that hour even on mornings when I'm up earlier. What I do instead is handle every quiet task before the curfew: measuring the oat milk, slicing a banana, pulling the strawberries and peanut butter within reach so the only thing left when 7am hits is loading the pitcher and pressing the button.
That sequencing matters more than it sounds like it should. On the mornings I've tried to do everything at once right at 7am, measuring, slicing, and blending back to back, I've ended up rushing the loading order and getting a lumpier result. Prepping the quiet parts first means the loud part, the actual run on the Ninja blender, takes less than a minute once the curfew clears, instead of turning into a five-minute production standing at the counter.
Step 6: Build Freezer Prep Packs the Night Before
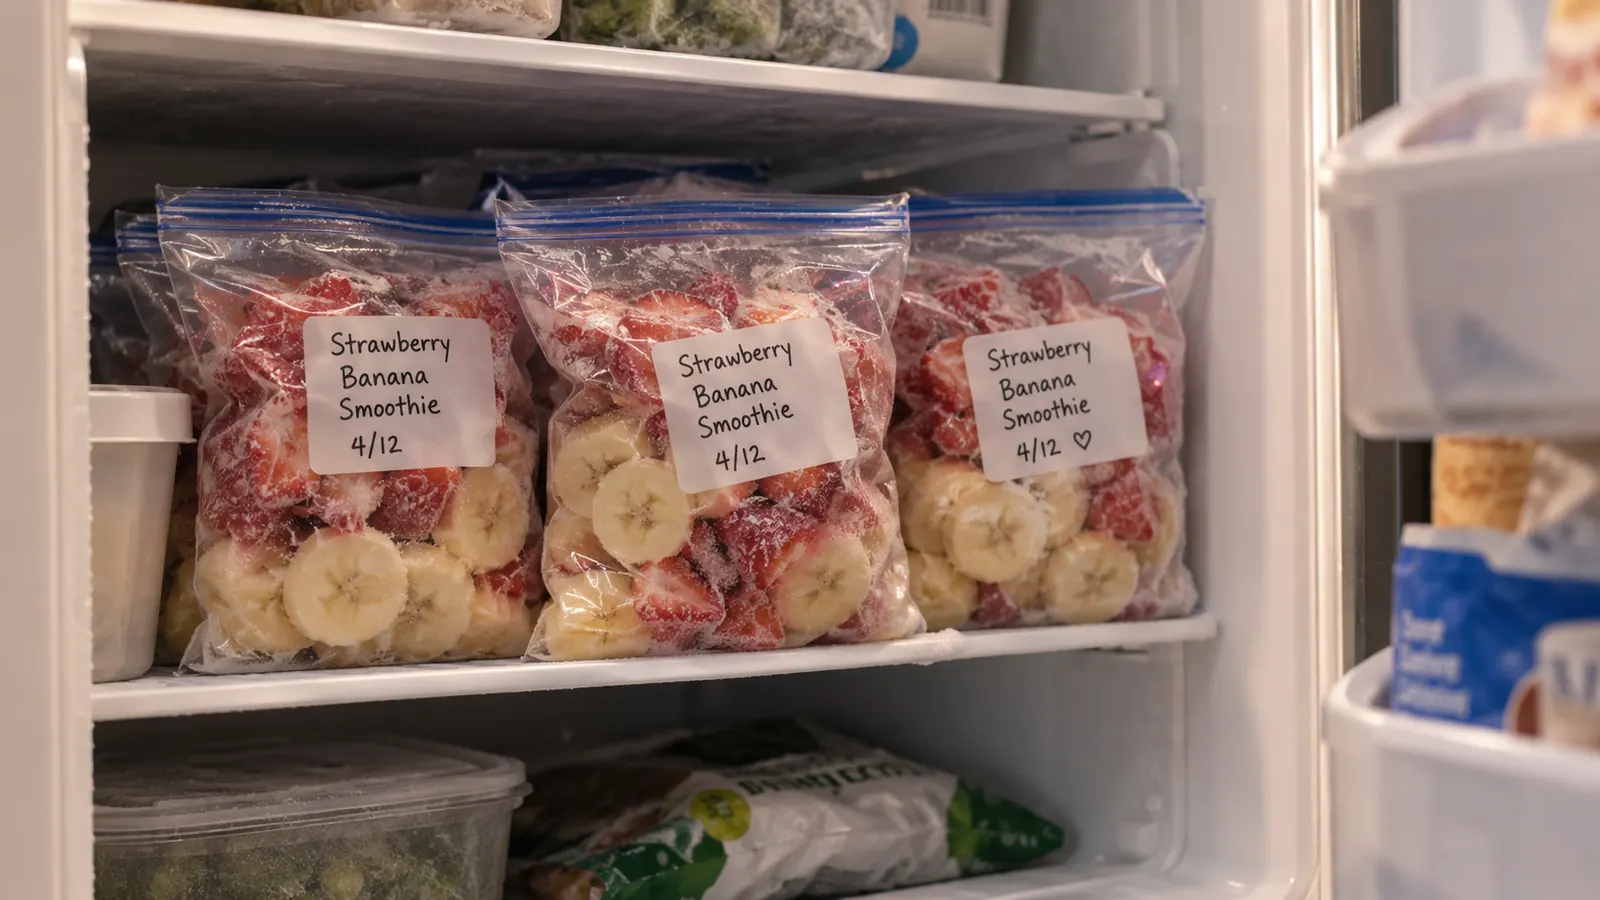
On my more organized weeks, I portion out smoothie packs the night before: a sliced banana, a cup of strawberries, and a small dollop of peanut butter frozen onto a piece of parchment, all bagged together in the freezer. In the morning it's oat milk into the Ninja pitcher, the whole frozen pack dumped in on top, and I'm blending within thirty seconds of walking into the kitchen. No measuring, no slicing, nothing to do before 7am except open the freezer.
It also solves a real problem with the peanut butter specifically. A fresh spoonful of peanut butter added cold straight from the jar sometimes leaves small unblended streaks if the liquid ratio's a little off that morning, but a peanut butter dollop that's already frozen solid breaks down into the smoothie the same way the frozen fruit does, evenly, instead of clumping at the blade. I make four or five prep packs on a Sunday and they cover most of the week.
Step 7: Clean the Pitcher in Under a Minute So You Actually Keep Doing This
The whole routine falls apart if cleanup takes ten minutes, so I keep it fast. As soon as I've poured the smoothie out, I fill the Ninja pitcher about a third of the way with warm water and a small drop of dish soap, put the lid back on, and run it on high for fifteen to twenty seconds. That spins the water against every surface the smoothie touched, including the underside of the blade assembly, which is the part that actually needs the scrub. I rinse it under the tap, flip it upside down on the rack, and I'm done before the coffee finishes brewing.
The pitcher and its base lid are both dishwasher safe, so on weekends I'll run it through a full load instead. On weekdays, the fast rinse-and-spin is what keeps me actually using this every morning instead of dreading the cleanup. The spare pitcher lid lives on top of my fridge since there's no drawer for it, and the pitcher itself, along with the blade attachments, goes back in the hall closet once it's dry, which is one more reason the sixty-second version of cleanup matters. Nobody hauls a jar out of a closet every morning if washing it feels like a chore.
What Else Helps
A few smaller habits made a bigger difference than I expected. Freezing fruit in a single layer on a tray before bagging it keeps the pieces from clumping into one solid brick, which loads into the pitcher far more evenly. Ripe, spotty bananas blend smoother than firm ones, so I let mine go soft on the counter and freeze the extras in halves specifically for the Ninja Mega Kitchen System rather than tossing whole bananas in frozen.
I've also learned to swap the ratio slightly by season. In summer, when the kitchen's already warm, I lean on more frozen fruit and less liquid so the smoothie stays cold and thick without needing extra ice, which just dilutes the flavor as it melts. In winter I'll add a small splash more oat milk since I want the finished texture a little thinner, closer to a drink than a spoonable bowl. Neither change affects the loading order, only the ratio, which is the part worth adjusting once you know your baseline.
And if you're deciding whether the extra power of a full-size machine is worth the counter space in the first place, I laid out ten specific reasons the Ninja blends better than what I owned before in a separate piece, and the honest tradeoffs are in my full honest review of the Ninja Mega Kitchen System if you want the parts that aren't about smoothies at all.
The loading order fixed more smoothies than any setting on the machine ever did.
Ready to Stop Guessing at the Settings?
The Ninja Mega Kitchen System has the power for a genuinely smooth blend, the loading order and speed above are what make it consistent. Check today's price before your next grocery run.
Amazon Check Today's Price on Amazon →