
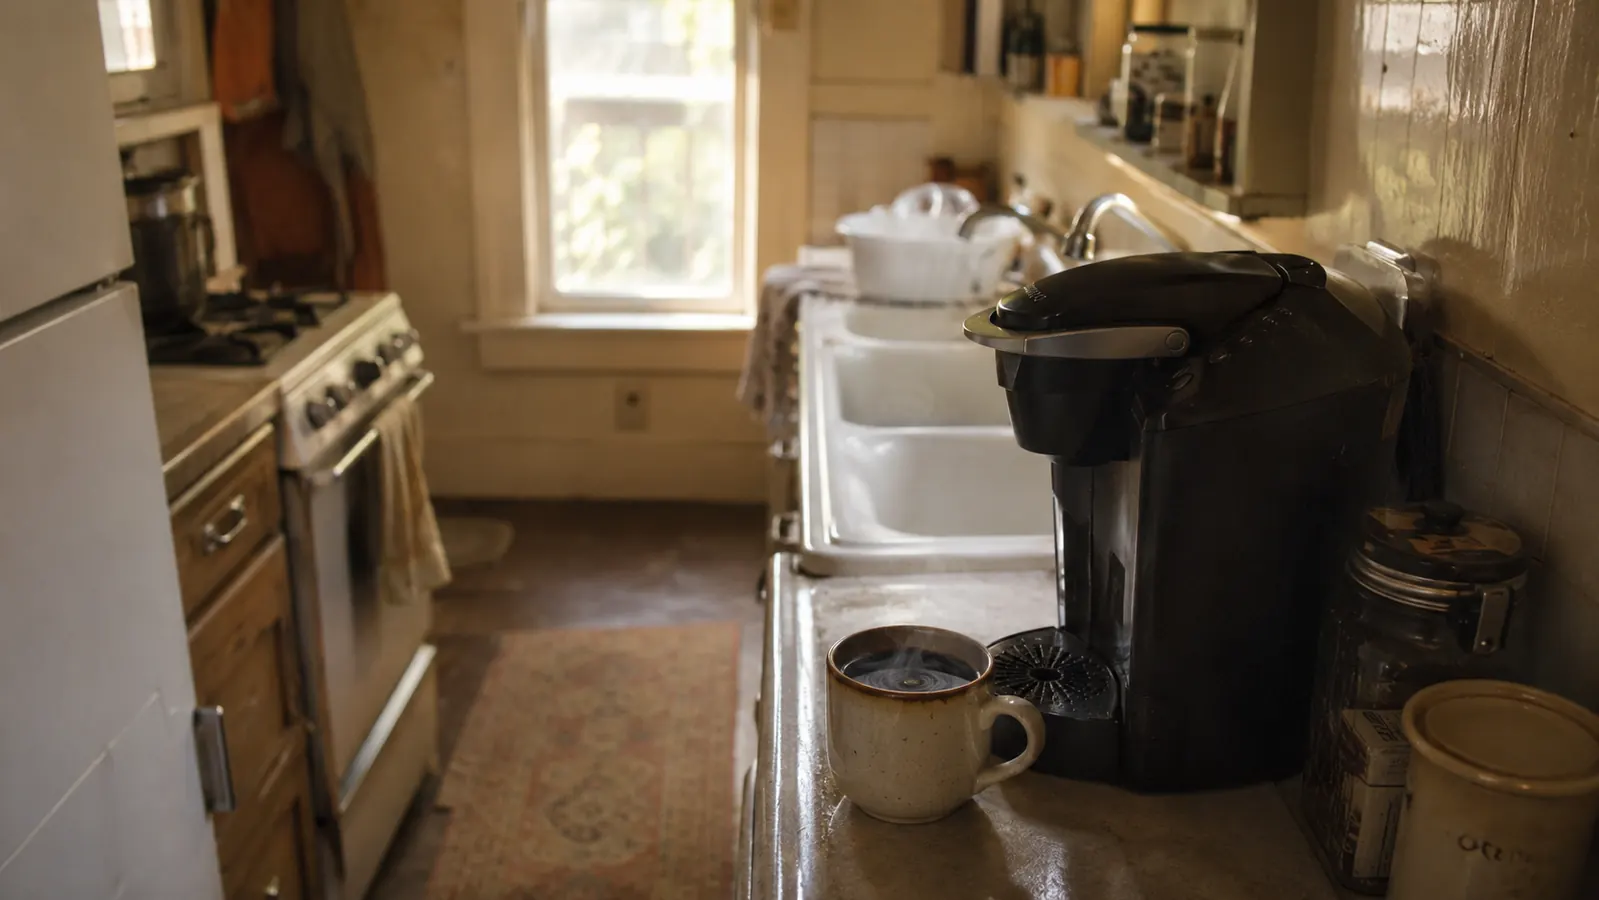
My husband Paul takes his coffee dark enough to stand a spoon in, and for the first month I owned the Keurig K-Classic, he told me every cup tasted like coffee-flavored water. He wasn't wrong. The Keurig K-Classic is a genuinely reliable coffee maker, I covered that in the six-month review, but it brews to a fixed extraction no matter which button you press, and nobody explains that before you buy one. A K-Cup pod holds a set amount of ground coffee. Push more water through it and you get a bigger cup, not a stronger one.
Once I understood that, I stopped fighting the machine and started working with it, and Paul stopped complaining. It took me most of two months of disappointing cups to figure out why, and another few weeks to land on the workarounds that actually solved it. Here is exactly what changed, step by step, on the same Keurig K-Classic I've been running daily for six months on my twenty-two inches of counter beside the sink.
Tired of watery coffee from a machine that's supposed to be convenient, not weak?
The fix isn't a different machine, it's a different technique. See today's price and current availability on the Keurig K-Classic on Amazon before you try any of this.
Amazon Check Today's Price on Amazon →Step 1: Stop Reaching for the 10-Ounce Button
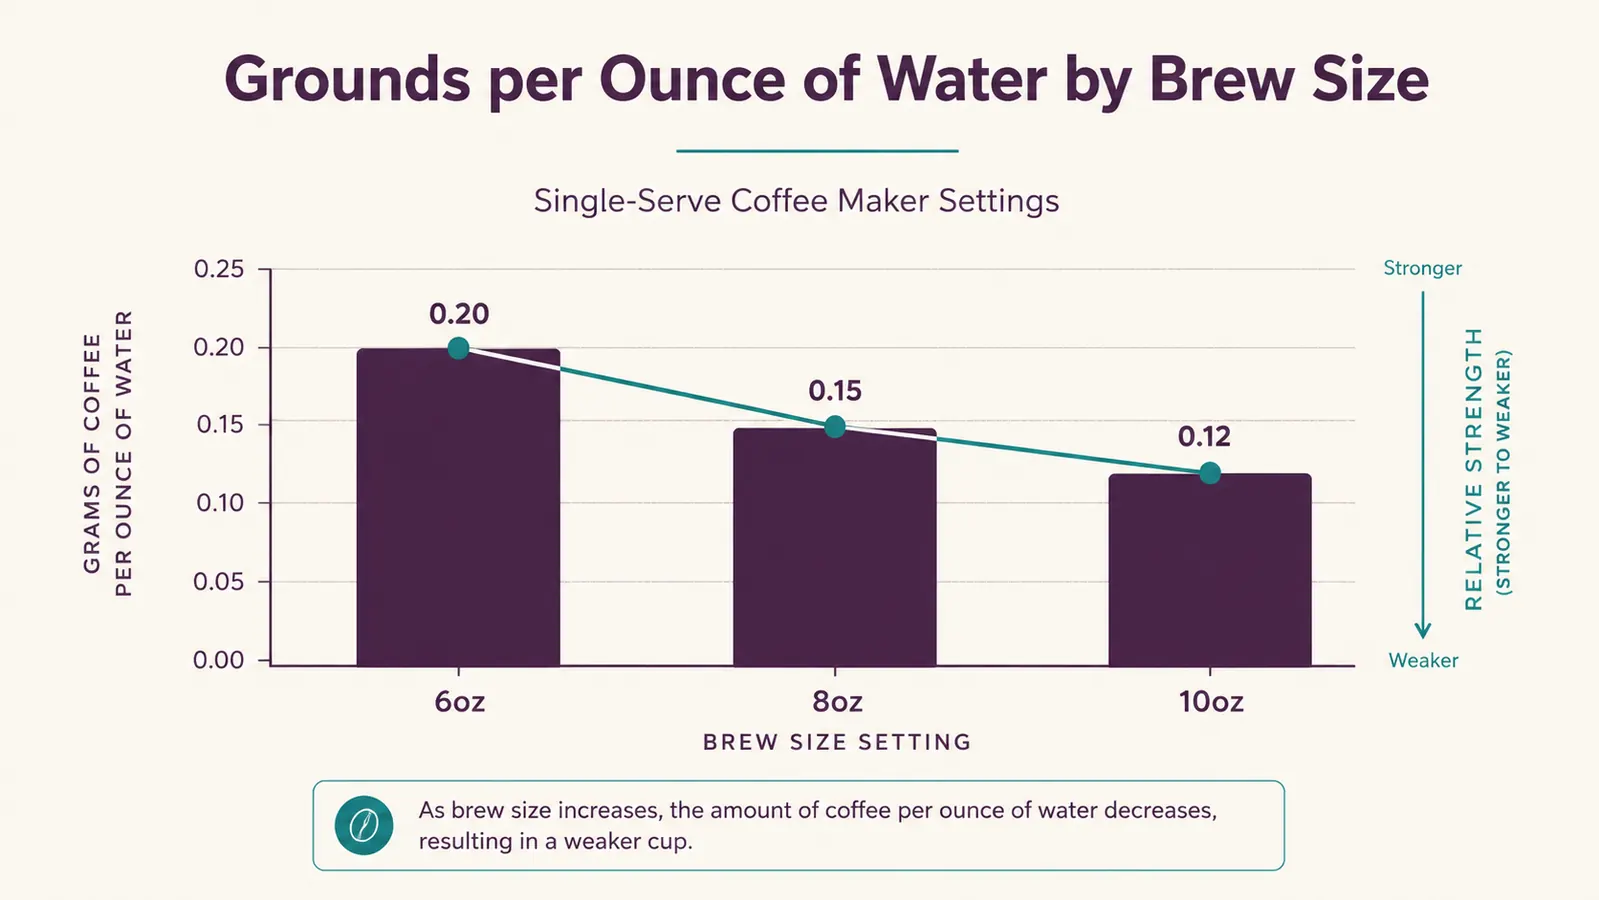
This is the single biggest habit I had to break. A K-Cup is loaded with a fixed dose of ground coffee, somewhere around ten to twelve grams depending on the brand, and that amount doesn't change when you press a bigger button. The Keurig K-Classic's three brew sizes, 6, 8, and 10 ounces, just control how much hot water gets forced through that same fixed dose. More water through the same grounds means more dilution, not more coffee. I explained this exact tradeoff in the six-month review, and it's the reason the 10-ounce setting became my go-to complaint for the first several weeks I owned the machine.
The practical fix is simple, brew smaller. If you want a stronger cup out of the same pod, drop down to the 6-ounce setting instead of the 8 or 10, full stop. You'll get less volume, but every ounce of it will taste like the pod you actually bought instead of a watered-down version of it. If you want the extra volume of a 10-ounce mug, brew it and then decide whether you're willing to trade strength for quantity, rather than assuming the Keurig K-Classic will magically deliver both.
This matters most with light and medium roast pods, where the extraction is already delicate to begin with. A light roast pushed through a 10-ounce brew tastes almost like tea by the time it hits the bottom of the mug. If you only ever brew one size, make it the 6-ounce and top the rest of your mug with hot water later, once you've tasted how strong the base cup actually is. You're back in control of the ratio instead of letting the machine decide it for you.
Step 2: Pick a Dark or Extra-Bold Roast Pod
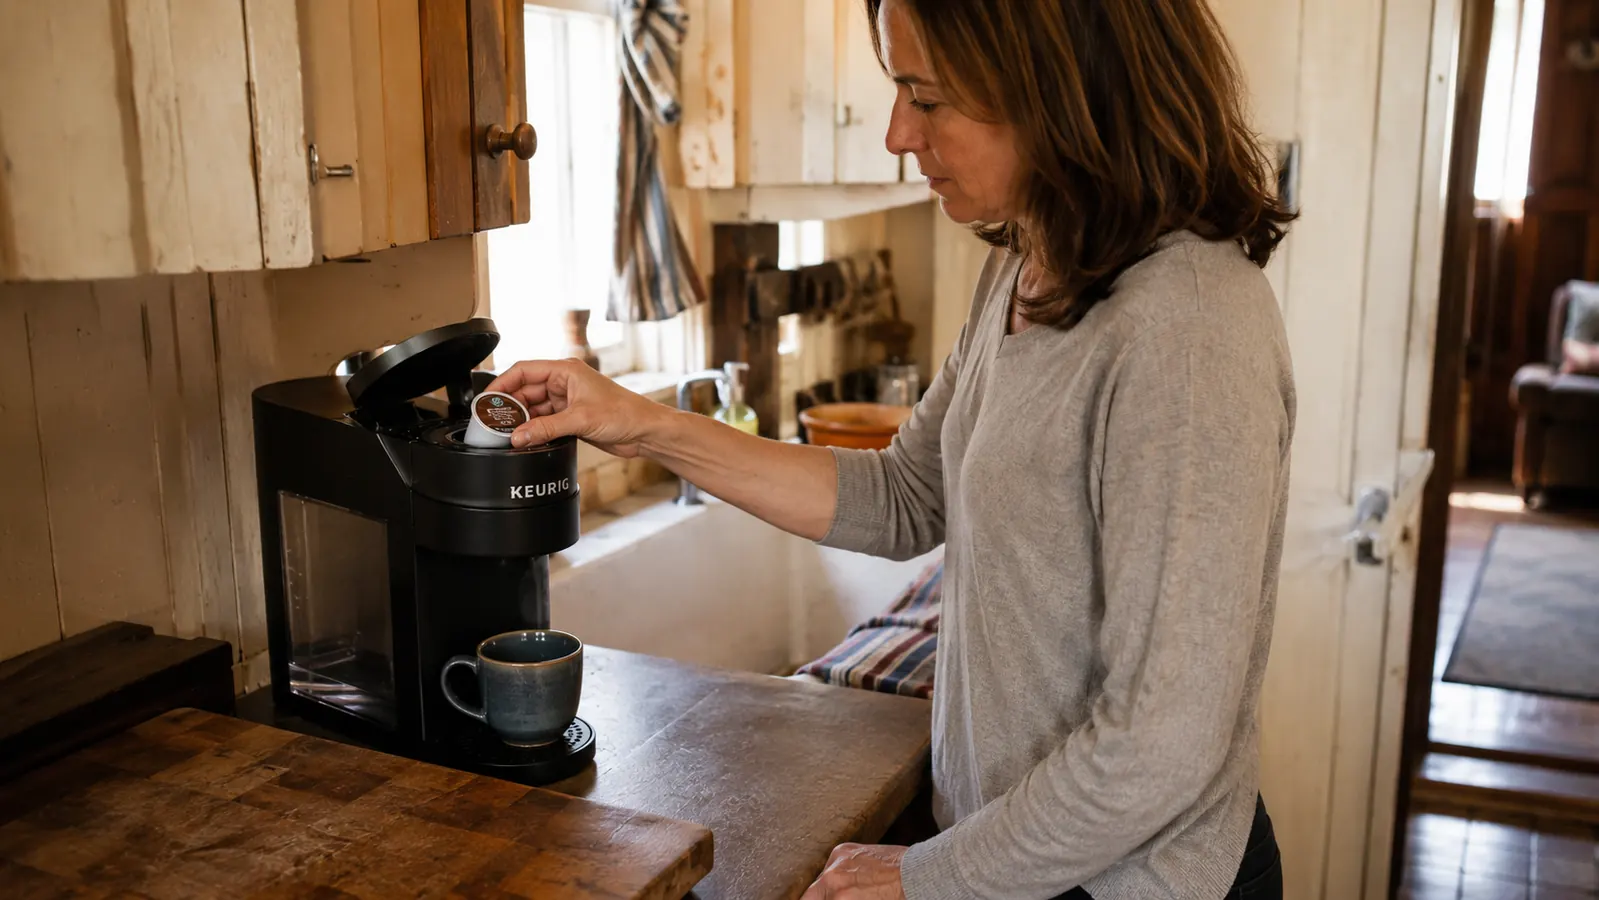
Not every K-Cup is built the same. Dark roast and extra-bold pods are formulated with the dilution problem in mind, they're roasted and ground to hold up flavor at a bigger brew size, where a light or medium roast pod tends to taste thin the moment you go past 6 ounces. I keep a rotating stash of bold roast pods specifically for mornings when I know I'm brewing 8 ounces, and medium roasts only for the 6-ounce cups where the smaller water volume already protects the flavor.
This sounds obvious once you say it out loud, but it took me two full months of disappointing cups on my Keurig coffee maker before I connected the dots. The roast label on the box isn't just a flavor preference, it's functionally your strength control on a machine that doesn't have one built in. I read the bag before I read the flavor name now, dark and extra-bold first, everything else second.
Step 3: Brew a Real Double, Not a Big Cup
If you actually want more coffee and more strength, the honest answer is two pods, not one big button. I brew a 6-ounce cup into my mug, swap the spent pod for a fresh one, and run a second 6-ounce brew into the same mug. What comes out is closer to a genuine double shot than anything the 10-ounce setting will ever produce, because you've doubled the grounds instead of just doubling the water. It costs two pods per cup, which is worth saying plainly since cost per cup already adds up fast on a single-serve machine, but on the mornings Paul wants something closer to a real cup of strong coffee, this is what actually works.
I only do this for special mornings, not daily, because two pods every day would roughly double what I'm already spending on K-Cups. It's a tool for when strength matters more than economy, not a permanent routine. On an ordinary weekday, I'd rather use the reusable filter from step four and control the strength for the price of loose grounds instead.
Step 4: Switch to the Reusable Filter and Your Own Grounds
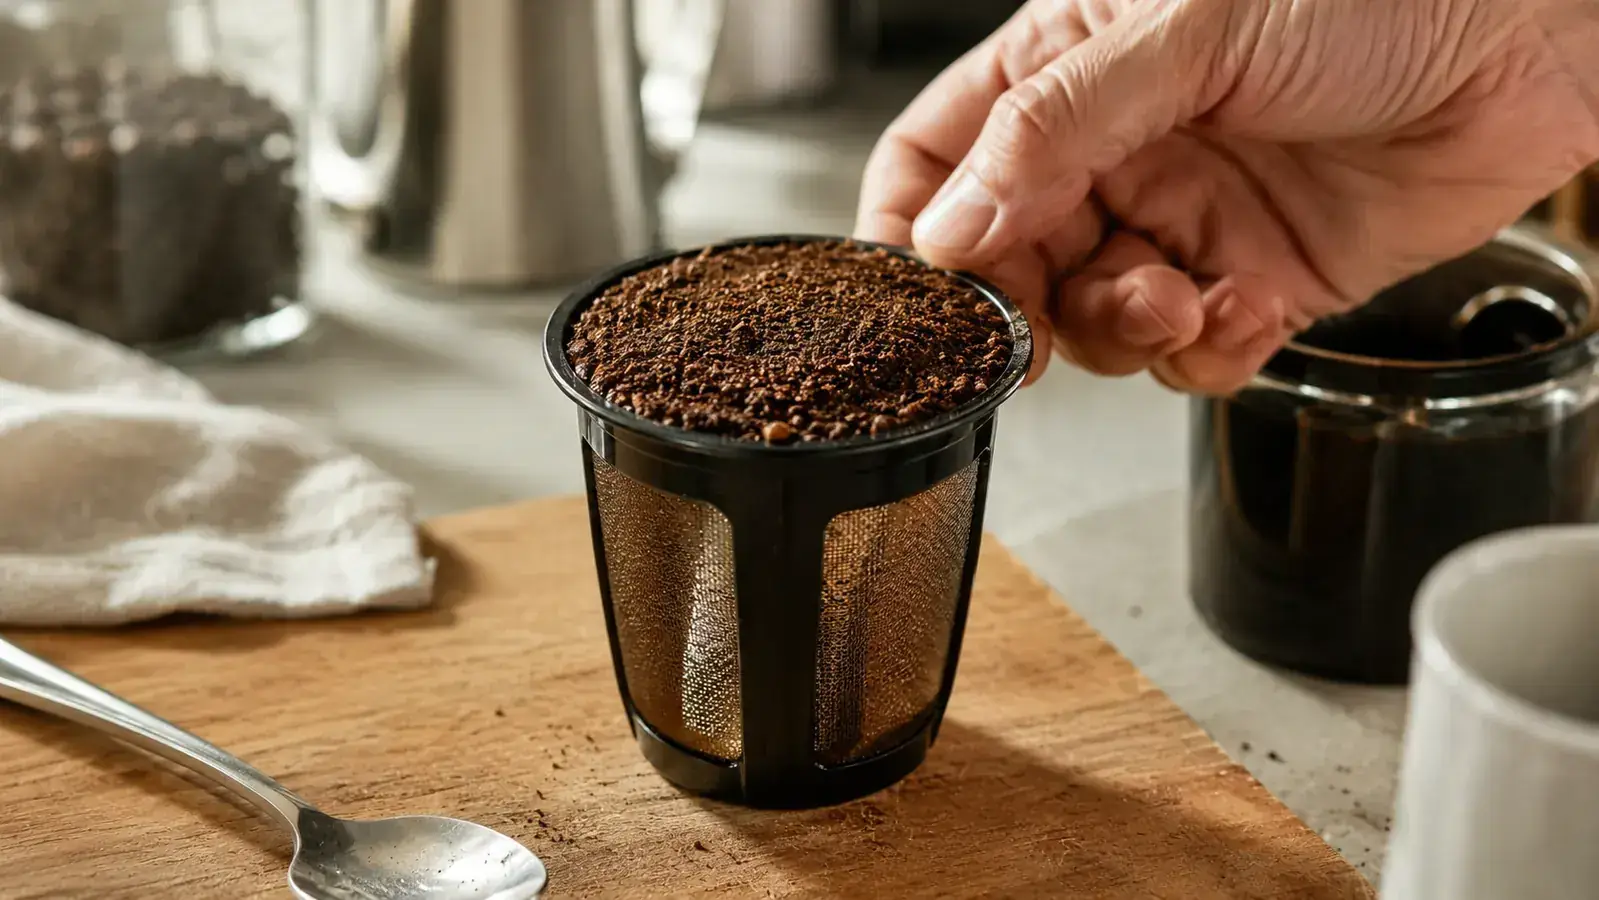
This is the step that actually solved the problem for good. A reusable K-Cup filter lets you skip the pre-portioned pod entirely and load your own coffee, which means you control the dose instead of the manufacturer. I use a medium-coarse grind, closer to what you'd use for a pour-over than the fine grind you'd use for espresso, and I pack the filter full and level rather than loosely spooned in. A loosely filled reusable filter is where most people go wrong, it leaves air pockets the water just rushes through, which defeats the entire point.
With the reusable filter loaded properly, I can brew an 8-ounce cup on the Keurig K-Classic that tastes as strong as any drip coffee I ever made in my old twelve-cup pot, because I'm using roughly two tablespoons of grounds instead of whatever a pod happened to come with. It's more cleanup than a pod, you have to empty and rinse the filter basket after every brew, but it's the closest thing to real strength control this coffee maker has.
It's also cheaper over time, since bagged ground coffee runs a fraction of the cost per cup that K-Cups do, which is the same math I ran when I was comparing the Keurig K-Classic against my old drip pot before I bought it. If you brew daily, the filter pays for itself within a few weeks just on grounds savings, on top of the strength you get back.
Step 5: Preheat the Mug Before You Brew
This one sounds small and makes a real difference. A cold ceramic mug pulls heat directly out of the coffee as it hits the bottom, and a cup that cools faster reads as weaker even when the extraction is identical. I run hot tap water in my mug for thirty seconds before I brew, dump it out, and then place the warm mug under the spout. The coffee stays hotter longer and tastes noticeably bolder for the first several sips, which is exactly when you're forming your opinion of the cup.
I skipped this step for months because it felt like an extra chore on a machine I bought specifically to save time. But it adds maybe forty-five seconds to a routine that already takes under two minutes with the Keurig K-Classic, and the difference in perceived strength is bigger than most of the other changes on this list.
Step 6: Descale on Schedule, Not When the Machine Struggles
Mineral scale builds up inside the internal lines of the Keurig K-Classic over months of regular use, and scale narrows the path the hot water travels through the pod. A slower, restricted flow rate under-extracts the grounds, which means a scaled-up machine brews weaker coffee even with the exact same pod and the exact same setting you always use. I descaled mine right around the four-month mark, once the brew cycle started taking noticeably longer and I heard a louder gurgle partway through, and the difference afterward was obvious. Faster, hotter, and stronger cups, all from the same pods I'd been using the week before.
Don't wait for the machine to visibly struggle before you descale. Put it on your calendar around the three to five month mark depending on how hard your tap water is, the same window I mention in the six-month review, and treat it as routine maintenance rather than a repair you make when something's already gone wrong. My tap water runs hard, so I lean toward the earlier end of that window now instead of waiting to see how the coffee tastes first.
Step 7: Keep the Puncture Needle Clean
The needle that pierces the top and bottom of a K-Cup can build up coffee oils and small grounds over time, and a partially clogged needle restricts water flow the same way scale does, which quietly weakens every cup without you noticing right away. Keurig sells a small maintenance tool for this, or you can carefully run a straightened paperclip through the needle opening with the machine unplugged. I do this every month or so, and it takes under a minute.
A clean needle is a small, boring habit, but it's part of the same story as everything else in this guide, the Keurig K-Classic brews to a fixed extraction, and anything that restricts flow through that extraction makes the cup weaker, not stronger. Scale, a dirty needle, and the wrong brew size all do the same damage in different ways, they all cut down the amount of coffee that actually makes it into your mug relative to the water.
What Else Helps (and What Doesn't)
One shortcut people ask me about constantly is running a second brew cycle through the same spent K-Cup to get a second cup out of one pod. Don't do this expecting strength. A used pod has already given up its coffee to the first brew, and a second pass through it produces hot water with a faint coffee smell, not a stronger cup, it's actually weaker and more bitter than the first cup was, since what little flavor remains skews toward the bitter compounds that extract last. If you want more coffee, use a fresh pod, the reusable filter, or the two-pod double from step three, not a second run through something already spent.
The other thing that doesn't work is expecting a firmware trick or a hidden setting to fix this. I looked. There isn't one hiding in the Keurig K-Classic's buttons. The 6, 8, and 10-ounce sizes are the only controls you get, and every real strength gain in this guide comes from changing what goes into the machine, the roast, the grind, the number of pods, or maintaining the machine itself, never from the brew button alone.
Everything in this guide comes down to the same honest point, a pod machine can't think its way to a stronger cup, only the ratio of grounds to water and the condition of the machine itself can do that. If you want more detail on how I actually use this coffee maker day to day, the honest review covers the parts I'd change if I could, and the ten reasons it simplifies my mornings gets into why I still reach for it daily despite the dilution quirk.
Stronger coffee was never a setting I was missing. It was a ratio I had to build myself, pod by pod.
Once you know the workaround, the Keurig K-Classic stops feeling like a weak-coffee machine.
Every step above works on the standard Keurig K-Classic, no upgrade or accessory required beyond a reusable filter. Check today's price and current availability on Amazon.
Amazon Check Today's Price on Amazon →